Most riders treat a chain like a consumable and a pair of shorts like an afterthought. Then they wonder why the drivetrain starts sounding like a box of gravel a few hundred kilometers after the last tune-up, and why their sit bones quit an hour before their legs do.
I have been wrenching on bikes since I was 19. Twelve years as a mechanic, five as a service manager, and now I run a one-bay shop in Boulder, Colorado called Mitch's Bench, where I rebuild hubs, fit saddles, and torque everything to spec because "hand tight" is how expensive things get loose. I ride about 15,000 km a year, most of it before 7 a.m. or after 6 p.m.
The good news is that both problems have cheap fixes. A bike chain lube routine that takes four minutes, and a pair of padded shorts that actually fits, will do more for your speed and your comfort than most of the parts people spend real money on. This is how I do it in the shop, and how I would tell you to do it at home.
Why you should trust me
I measure things. That habit came off the shop floor, where almost every customer complaint turned out to be a measurement problem: a chain past its wear limit, a saddle 20 mm too high, a bolt that was "hand tight" and backing out. I own a chain checker, torque wrenches in three sizes, and a foam pad I use to measure sit-bone width before I will fit anyone to a saddle, including myself.
I also ride. The Tuesday worlds group ride is as competitive as I get these days, and it is where gear gets its real field test. My rule is simple: no recommendation without a full season on the product. The first 100 km tells you if something works. The next 10,000 tells you if it was worth it.
Affiliate links on this page pay for the shop coffee. They do not change a verdict. Brands that ask for a nicer review get a shorter one, not a better one.
How I picked and how I tested
For this guide the bar was low-tech and high-mileage. A chain lube has to go on clean, stay quiet through a wet group ride, and not turn into black paste on the inner plates. A pair of shorts has to survive a full season of long rides and repeated washing without the pad going flat or the seams letting go.
Both items below are things I re-order for the shop. The lubricant comes in a two-pack, which matters more than it sounds: one bottle lives on the bench, one lives in the car or the gear bag, and you stop skipping the maintenance because the bottle is always somewhere else.
I do not review gear I have not serviced or ridden. If the only numbers a product has are printed on the box, that is not a review, that is a product page with extra steps.
Gear you need before you start
Two items, and neither is expensive next to the parts they protect.
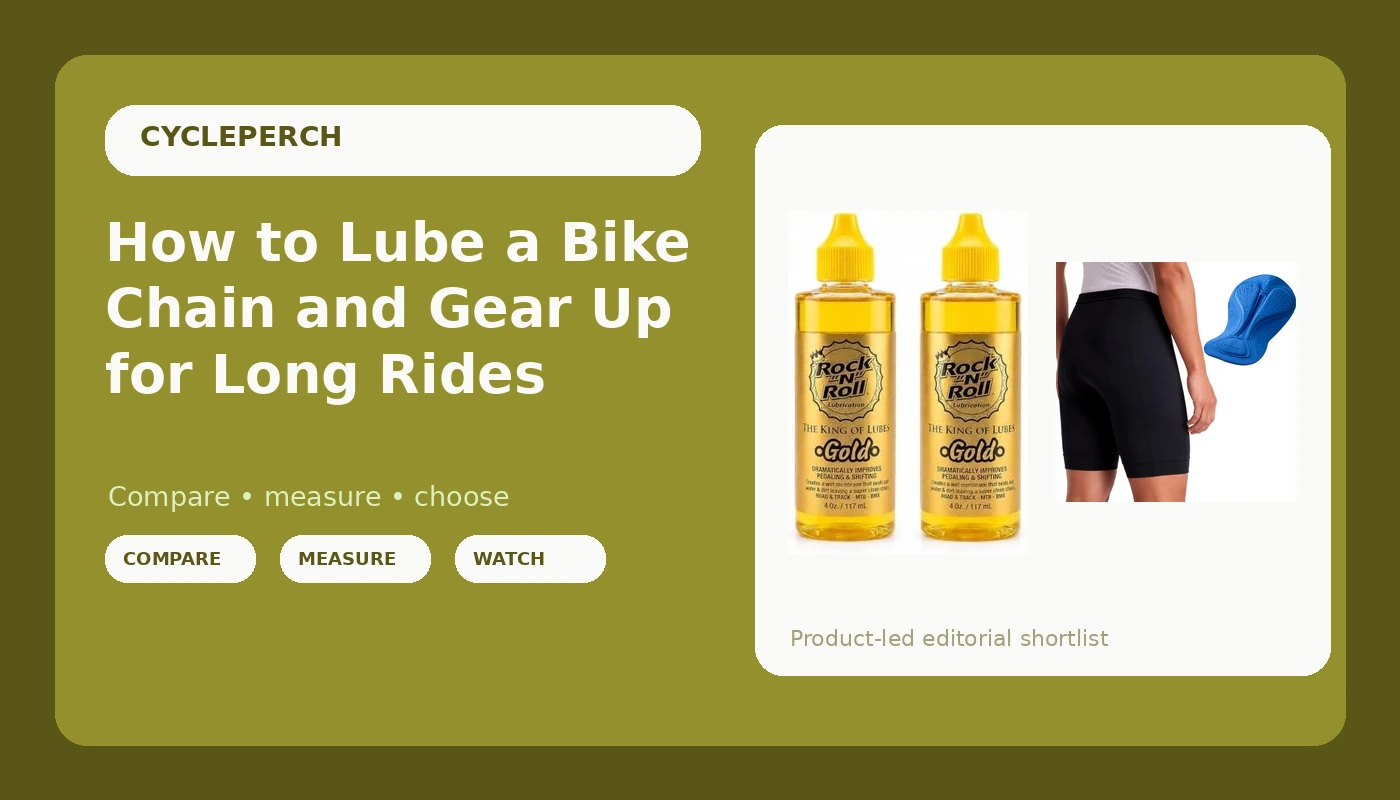
The chain lube: Rock N Roll Gold Chain Lubricant, 4 Ounce (2-Pack)
 Visit on Amazon →
Rock N Roll Gold is the lube I keep coming back to for mixed conditions. It goes on wet, carries grit out of the rollers as you wipe, and leaves the chain quiet without the thick waxy film that some lubricants build up over a season.
The method matters as much as the bottle. Apply it to the inside run of the chain, one drop per roller, then wipe the outside plates dry. What you leave on the outside is what collects dust. Done right, the chain runs quiet, shifts crisp, and stays clean enough that you are not degreasing the whole drivetrain every weekend.
The two-pack is the practical buy. Four ounces goes a long way, and having a second bottle in the car means the chain gets lubed on the day it needs it instead of the day you remember.
Flaws but not dealbreakers: This is not a heavy wet lube for a Pacific Northwest winter. In constant rain you will reapply more often, and a dedicated wet lube will hold up longer. For everything else, including the dry Colorado summers I ride in, it is the bottle I reach for.
Anyone riding mixed conditions who wants a quiet chain without turning maintenance into a chemistry project should start here.
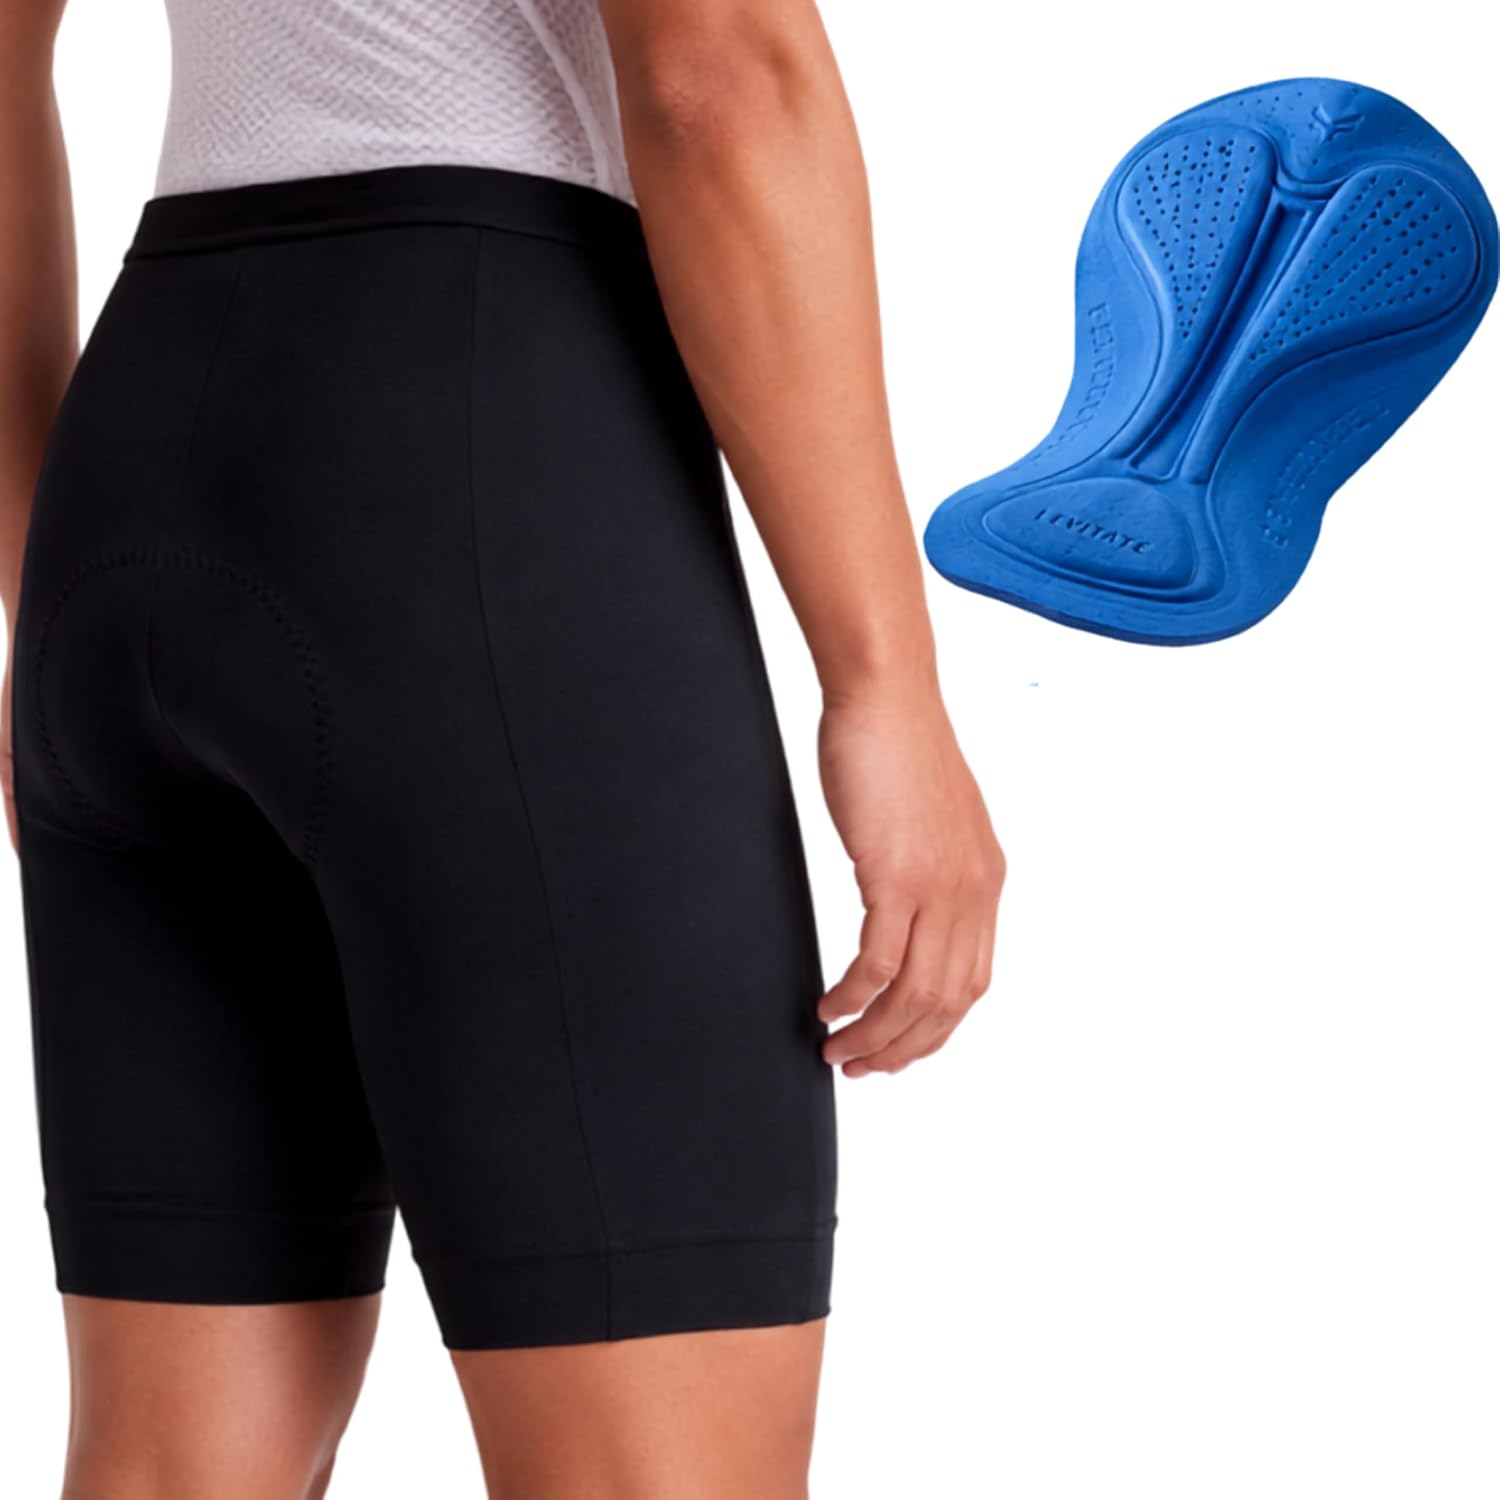
The shorts: PEARL IZUMI Quest 9" Padded Bike Shorts for Men
 Visit on Amazon →
Pearl Izumi has been making cycling apparel long enough that the fit is figured out, and the Quest is the short I hand to riders who are logging real distance for the first time. The 9-inch inseam is the right length for most people: long enough that the leg gripper does not ride up, short enough that it does not feel like you are wearing knee warmers.
The reason to buy padded shorts instead of riding in gym shorts is simple. A chamois moves with you, spreads pressure across the sit bones, and keeps seams out of the places seams should never be. Gym shorts have a seam right where you sit. That is the whole argument.
These are shorts, not bibs, so there are no straps over the shoulders. For most riders under two hours that is fine, and it makes a bathroom stop much less of a production.
Flaws but not dealbreakers: The waistband is elastic, so if you are between sizes, try both and keep the one that does not move when you pedal out of the saddle. And a short at this level is not a six-hour century pad. If you ride that far, you already know you want a bib.
Anyone building a first real cycling wardrobe, or replacing shorts that have gone shiny and thin, should look here first.
The actual chain lube workflow
Now the part you came for. This takes four minutes, and it is the highest-return maintenance job on a bike.
Step one: Shift to the small ring. Drop the chain onto the small chainring and a mid cassette cog. Less chain tension means the lube gets into the rollers instead of flicking off the top.
Step two: Wipe the chain first. Run it through a rag while you backpedal. A dirty chain is a grinding wheel, and lubing over grit just pushes the grit inside.
Step three: Degrease if it needs it. If the chain is black and greasy, use a chain cleaner or a stiff brush with degreaser. Keep the degreaser off your hubs and bottom bracket bearings, rinse with water, and dry it.
Step four: Dry the chain. Water left in the rollers dilutes whatever you put on top of it. A rag and a few minutes of air is enough.
Step five: Apply to the inside of the chain. One drop per roller, on the side that faces the chainring, while you backpedal. The inside face is the one under load, so that is where the lubricant needs to be.
Step six: Keep spinning. Give it a dozen more revolutions so the lube works into the pins and bushings instead of sitting on top.
Step seven: Wipe the outside dry. This is the step everyone skips, and it is the one that decides whether your chain stays clean. Lube on the outer plates does no work. It only collects dirt.
Step eight: Let it cure. Give it a few minutes before you ride, longer if you can. Then go ride and listen. A correctly lubed chain is quiet, and quiet is the measurement that matters.
Step nine: Check chain wear. Every few hundred kilometers, drop a chain checker into the links. A worn chain eats your cassette and chainrings, which cost far more than a chain does. Replace the chain early and the expensive parts last.
Fitting the shorts and the saddle
The pad only works if it stays where it belongs.
- Wear the shorts with nothing underneath. The chamois is the underwear. Cotton under a chamois is how you get saddle sores.
- Check pad position before you ride. The pad should sit under your sit bones, not in front of them. If it slides, the shorts are the wrong size, not the wrong product.
- Measure your sit bones before you blame the shorts. A foam pad at the shop takes two minutes. Saddle width is a measurement, not a preference, and no pad rescues a saddle that is the wrong width.
- Level the saddle. Nose up digs into soft tissue, nose down slides you forward onto your hands. Start level and change one thing at a time.
- Wash them after every ride. Cold water, no fabric softener, hang dry. Fabric softener clogs the pad and it never comes back.
- Chamois cream earns its money past the two-hour mark. It is cheaper than the saddle sore it prevents.
The competition and why it lost
Heavy wet lubes are the right call for a wet winter, and dry wax lubes are excellent in the desert, right up until one rainstorm and you are re-lubing on the side of the road. Gold sits between those two, which is why it is the bottle on my bench. I keep a wet lube for January and the Gold for everything else.
A chain checker is the cheapest tool in the drawer that protects the most expensive parts on the bike. If you only buy one measuring tool, buy that one, and stop arguing with yourself about whether the chain is worn.
On the apparel side, bib shorts are the better answer for long distance, and baggy trail shorts are the better answer for mountain biking. The Quest is a road-oriented short for riders who want padding without straps, and that is a real category with real riders in it.
One more thing, because it comes up across the stand every week: a new saddle is not the fix for a sore butt. Most saddle complaints are fit problems and pad problems. Fix those two first, and you will save yourself a lot of money and a lot of uncomfortable miles.
What this all costs
The math is easy. A drivetrain is the most expensive wear item on a bike: chain, cassette, chainrings, and the labor to swap them all. Lubricant and a chain checker are the cheapest things you can buy to make that drivetrain last. Shorts are the cheapest thing you can buy to make your own body last on the bike.
Nothing in this guide requires a shop visit. The lube takes four minutes. The shorts take one ride to settle in and a wash to keep. The chain checker takes thirty seconds.
Do the four-minute job every couple of weeks, replace the chain when the checker says so, and wear shorts that put a pad between you and the saddle. That is the whole program. Your bike was built to run quiet. Let it.