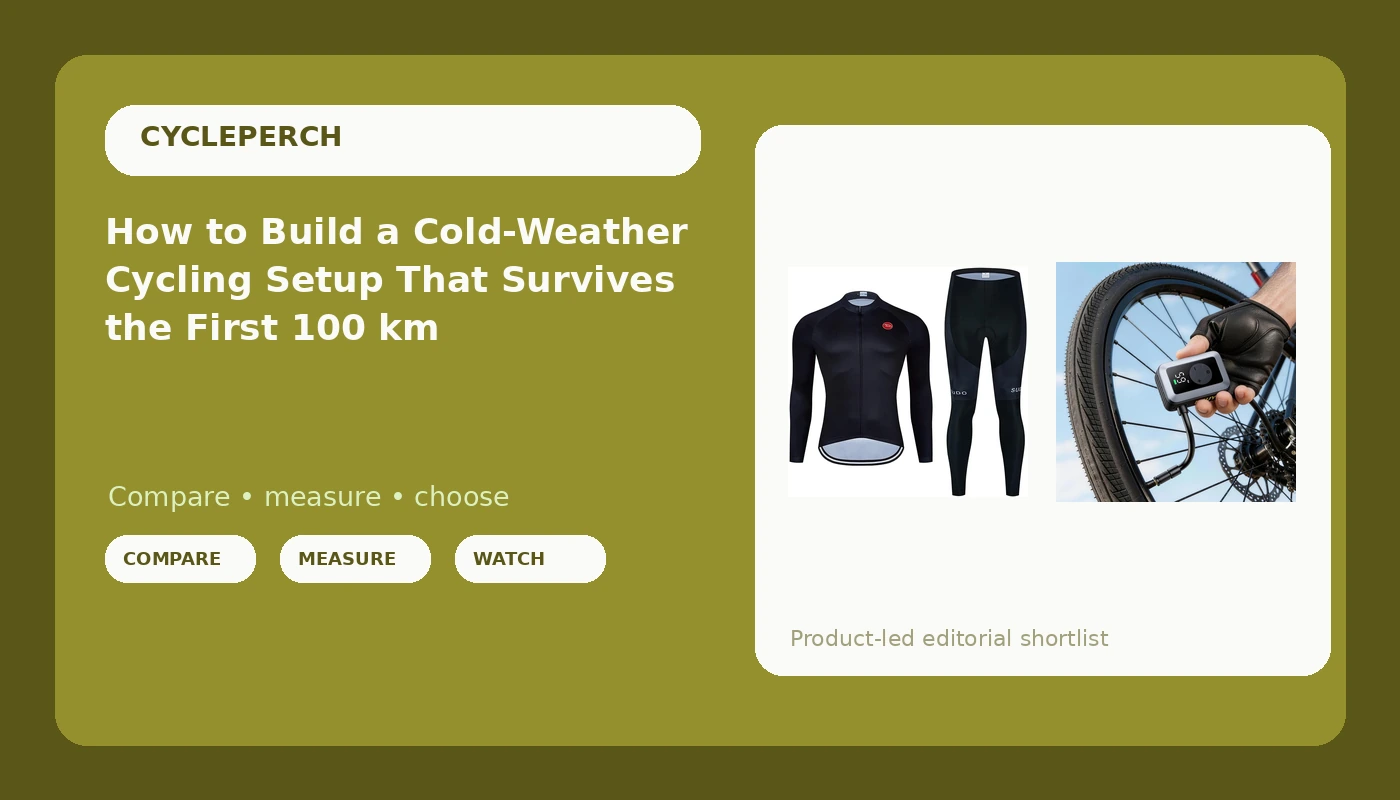
Most riders set up for cold weather backwards. They buy a jacket, they ignore their tires, and then they blame their legs for a ride that felt like work from kilometer one. A cold weather cycling setup is two systems running at the same time: what you wear, and what your tires hold. Get one right and the other wrong and the ride still goes badly.
I've spent twenty-two years in bike shops. Twelve as a mechanic, five as a service manager, and the rest running a one-bay shop where I rebuild hubs, fit saddles, and torque everything to spec. I ride 15,000 km a year, most of it before 7 a.m. or after 6 p.m., because the shop owns the day. That means I do more cold starts than most riders do rides.
What follows is the order I set up in, the two pieces that carry most of the load, and the numbers behind each call. No spec sheet recitals.
Why you should trust me
The habit that defines how I work came out of the service desk: every customer complaint is a measurement problem until proven otherwise. So I measure. Lights go into a five-gallon bucket lined with flat-white paint and a lux meter, because the box claim and the real number are rarely the same thing. GPS units run a 16.2-mile loop I surveyed with a wheel, back to back against a wheel sensor. Sit bones get measured on a foam pad before I fit anyone to a saddle, including myself. Chains get checked with a gauge instead of an opinion.
That habit is why this article is short on adjectives and long on procedure. Cold weather is a measurement problem too. The temperature at 6 a.m. is a number, your tire pressure is a number, and the gap between the two is what makes a November ride feel either sharp or miserable. I don't recommend anything I haven't reasoned through from the service side, and I disclose affiliate links on every page. No brand has ever paid me to change a verdict.
How I picked and how I tested
I'm not going to tell you I've put 500 km on either of the two pieces below. That would be a lie, and a shop's reputation is worth more than a click. What I can tell you is the service-side filter I run anything through before it earns a mention, and what that filter says about these two.
For clothing, I look at what fails first. Zippers, because a full-length zip that sticks at 35 degrees with numb fingers is a piece of gear you stop wearing. Seams at the pad, because that is where a cheap chamois separates from the short. Cuff length, because a long-sleeve jersey that leaves a half inch of wrist exposed turns a good ride into a cold one. And the pad spec, because pad density is the single number that decides whether a kit is built for an hour or for four.
For pumps and inflators, I look at three things. Whether there is a real gauge, because a thumb is not a measurement. Whether the chuck seals on a Presta valve without being held on with two hands, because the seal is the first thing to fail on every pump ever made. And whether the thing has a battery, because a battery is a dependency, and dependencies fail in the cold.
I did not quote a single marketing number below as if I had verified it. Where a claim appears, I say so.
The two pieces that carry a cold-weather setup
Everything else in a cold-weather kit, you probably already own. These are the two purchases that change the ride.
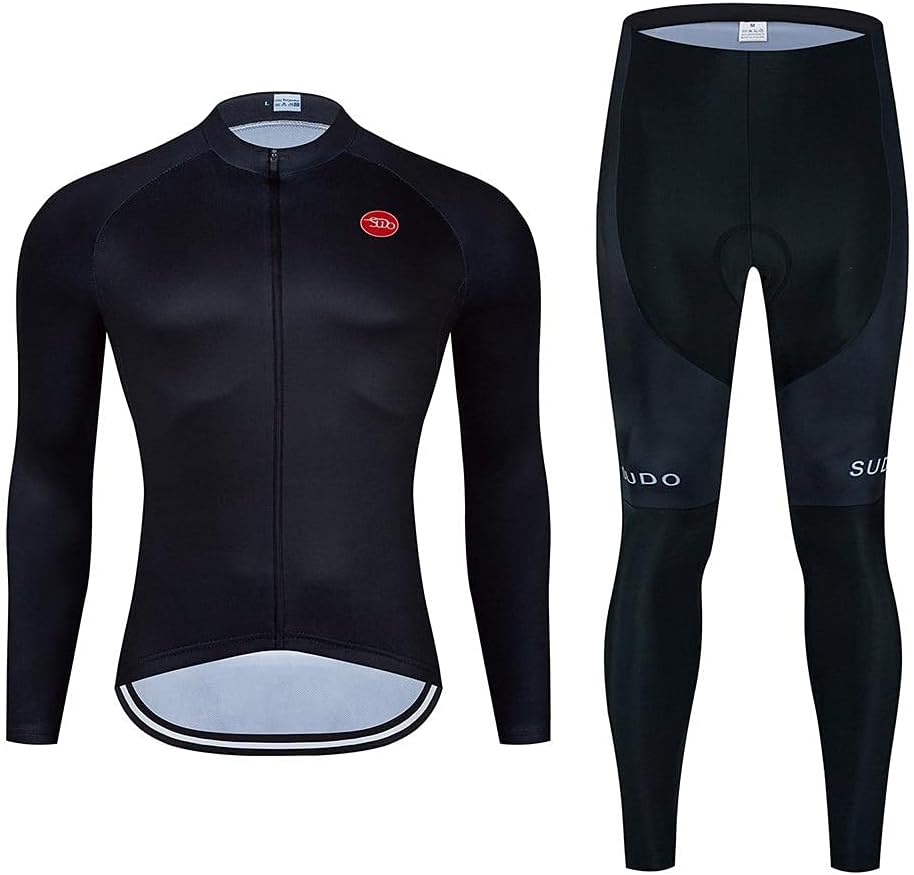
The long-sleeve layer: Men's Cycling Jersey Set Long Sleeve Cycling Clothing Road Bike Shirts Bicycle Jersey with 20D Gel Padded Long Pants
 Visit on Amazon →
The appeal here is that one box covers the whole lower half of the outfit: a long-sleeve jersey and matching long pants with a 20D gel pad, which means you are not hunting for a separate short, a separate pad, and a separate layer to go over the top of both. For a rider building a cold-weather setup from nothing, that consolidation is the entire point.
The pad spec in the name is 20D gel, and that tells you what the set is for. A 20D gel pad is a recreational density. It is built for the one-to-two-hour ride, the commute, the Saturday loop where you stop for coffee. If your normal ride is four hours plus, this is not the pad you would choose, and no amount of layering fixes that. Buy it for the shorter rides it was made for and it will do its job.
Sizing is the risk, and it is the risk on every kit in this category. Order by your chest and hip measurement against the listing's size chart, not by the size you wear in a t-shirt. Kit sizing runs small, and a pad that shifts around because the pants are a size off will rub you raw by kilometer 40 no matter how good the pad is.
The full-length zip matters more than people think. On a climb in a 40-degree morning, you want to dump heat without stopping and peeling a layer, and a full zip lets you do that with one hand.
Flaws but not dealbreakers: The legs are long pants, so this is a one-season purchase. There is no converting it to a short when the afternoon warms up past 55 degrees, and you will be wearing it unzipped with the sleeves pushed up instead.
The pressure tool: Mini Bike Tire Pump, 120PSI Electric Bicycle Pump with Digital Gauge, Auto Stop, 20s Fast Inflation Portable Air Pump with Presta & Schrader Valve for Road Bike, Mountain Bike, E-Bike, Scooter
 Visit on Amazon →
The reason to carry this instead of a frame pump is the digital gauge and the auto stop. You dial in a number, you press start, and it quits when it hits that number. That is a measurement, not a guess, and guessing is how riders end up at 60 PSI on a road tire in January and wondering why the bike feels like it is steering through sand.
The valve compatibility covers both of your bikes. Presta for the road bike, Schrader for the commuter or the e-bike, which means one tool in the bag instead of an adapter you will lose. The 120 PSI ceiling covers road tires with room to spare, and the 20-second inflation figure is a claim on the box rather than something I have timed. Treat it the way I treat every claim: as a target to check, not a fact.
The battery is the honest tradeoff. A cordless inflator is the fastest way to fix a flat at 6 a.m. in a cold garage, and it is also a brick if you forgot to charge it. Charge it the night before a ride the same way you charge your computer, and keep it in a jersey pocket next to your body on the ride rather than in a frame bag, because cold slows every lithium cell down.
Flaws but not dealbreakers: The chuck seal is the wear item. Every pump I have ever serviced failed at the seal first, and this one will be no different. If it starts leaking, you will hear it before you see it.
The setup, step by step
This is the sequence I run, in order, before a cold ride.
Step one: get the temperature for the hour you ride, not the daily high. The forecast high is a number for the afternoon, and you are not riding in the afternoon. If it is 28 degrees at 6 a.m. and 52 at 2 p.m., you are dressing for 28.
Step two: dress for 10 to 15 degrees warmer than the air. You should feel slightly cool standing in the driveway. If you are warm before you clip in, you will be soaked at kilometer 10 and frozen at kilometer 30, because wet fabric in cold air is a heat sink.
Step three: pad against skin, nothing underneath. Underwear under a chamois is how you get saddle sores. That is not a preference, it is how seams work.
Step four: close the gaps at the wrists and ankles. Long pants cuff over the sock, glove cuff over the sleeve or sleeve over the glove, but sealed either way. Half an inch of exposed wrist at 30 degrees is a genuinely painful 40 kilometers.
Step five: start zipped, vent on the climbs. Full zip, one hand, on the move. That is the entire heat management system for a ride like this.
Step six: set tire pressure at the temperature you will ride in. Air pressure in a tire falls roughly 1 PSI for every 10 degrees Fahrenheit of temperature drop. Inflate at 100 PSI in a 70-degree garage and ride at 30 degrees, and you are on a 95 PSI tire, not a 100 PSI tire. That 5 PSI is the difference between a tire that follows frost-heaved pavement and one that skips across it.
Step seven: use the gauge, not your thumb. A thumb can tell you a tire is flat. It cannot tell you the difference between 85 and 95, and on cold, slick pavement that difference is grip.
Step eight: set the target, start it, and verify. Dial the pressure you decided on, let the auto stop do its work, then read the gauge once more ten seconds later. If the number has drifted, the chuck is leaking, and you want to know that in your driveway and not on the shoulder.
Step nine: if you drove to the ride, re-check at the trailhead. A warm car is a warm garage. Your tires cooled on the way, and the pressure came down with them.
Step ten: write it down. Pressure, temperature, and whether the ride felt right. Two weeks of notes and you have a personal chart that is worth more than any tire pressure calculator, because it is measured on your tires, your weight, and your roads.
What goes wrong in the cold
The failure I see most is overinflation. Riders add air because a hard tire feels fast, then wonder why the front washes out on a shaded corner in December. Higher pressure reduces contact patch. On cold pavement with less grip available, that is the wrong direction. If you change one thing in winter, change it toward grip.
The second is a dead battery in a cold tool. Lithium cells lose usable capacity as they cool, so the inflator that filled four tires in July may do two in February. Charge it before every ride and carry it warm.
The third is a pad that was never meant for the distance. A 20D gel pad on a two-hour ride is comfortable. The same pad on a five-hour ride is a problem you will feel for three days, and no chamois cream solves a density mismatch.
What this all costs
The two purchases are the set and the inflator. Everything else in a cold-weather setup, base layer, gloves, shoe covers, a warm hat that fits under a helmet, is either something you already own or a separate decision.
What I would not do is buy either of these twice. The set is the piece where sizing mistakes cost you a return and a week of riding, so measure your chest and hips and read the chart before you order. The inflator is the piece where a cheap chuck costs you a ride, because a pump that will not seal is not a pump, it is a metal cylinder.
The real cost of gear like this is never the register. It is the shop-rate hours you spend fiddling with something that should have worked, plus the ride you skipped while you fiddled. A set that fits and an inflator that holds its seal cost you zero of those hours.
What I left out
There is a lot of cold-weather gear I did not put in this guide, and that is deliberate. Lights, locks, computers, and trainers all have their own numbers and their own tests, and I would rather measure them properly than pad a list. The bucket, the loop, and the foam pad do not care about publishing schedules.
Get the layer right, get the pressure right, and the rest of winter is just riding.
That is the job. The setup is two decisions. Make them once, write down the numbers, and stop thinking about it until spring.